What a cleat hitch is for
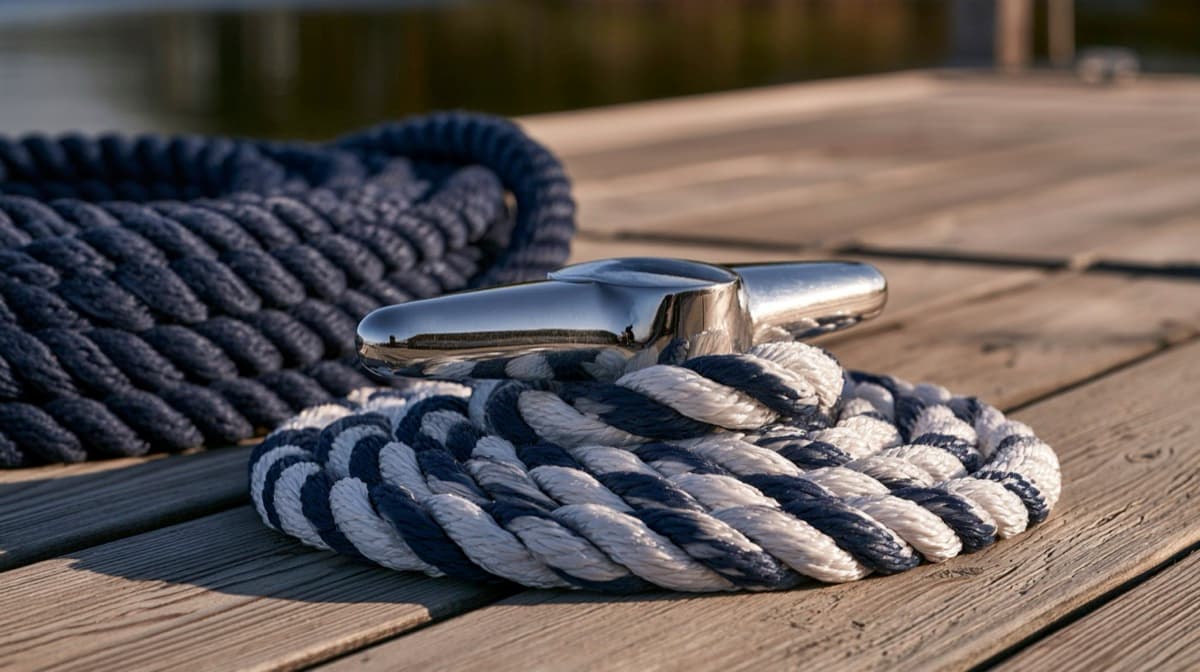
Use a cleat hitch to make a dock line fast to a horn cleat, the common two-armed fitting on docks and boats. It is the right knot for bow, stern, and spring lines, and for fender lines tied to a cleat.
A few words used below:
- Horns: the two arms of the cleat.
- Base: the middle of the cleat, where it is bolted down.
- Standing part: the part of the line that runs to the load, usually your boat.
- Tail: the free end you work with.
How to tie a cleat hitch, step by step
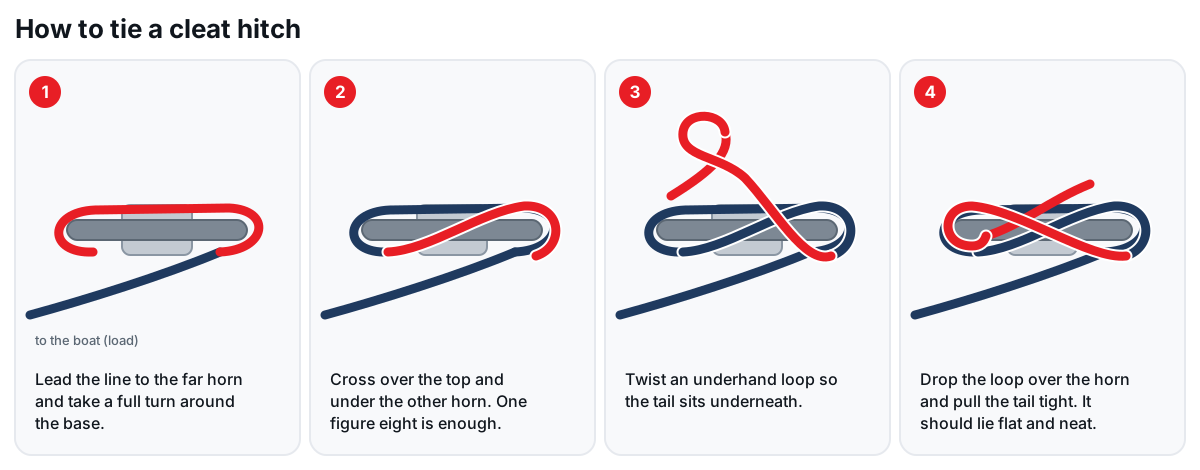
- 1
Lead the line to the far horn
Bring the line in to the cleat and pass it around the horn farthest from the load first. Leading to the far horn is what stops the knot jamming.
- 2
Take a full turn around the base
Wrap the line once all the way around the base, under both horns. This turn takes most of the load, so keep some tension on the line as you go.
- 3
Cross over the top in a figure eight
Bring the line diagonally across the top of the cleat and around under the opposite horn. You now have one figure eight. One is enough.
- 4
Make an underhand loop
Twist a small loop into the line so the tail ends up underneath the standing part. If the tail is on top, flip the loop over.
- 5
Drop the loop over the horn and pull tight
Slip the loop over the horn and pull the tail snug. Done right, the tail lies parallel to the first diagonal across the top and the wraps sit side by side, never on top of each other.
Check your knot
- It looks neat: a turn around the base, an X across the top, and a tail locked under the last wrap.
- No line crosses on top of another wrap or jams under a horn.
- A firm tug on the standing part does not shift it.
- There is a tail of at least a few inches left over, so it cannot work loose.
Common cleat hitch mistakes
- Starting on the near horn. The line crosses itself under load and can jam, which is the last thing you want when you need to cast off quickly.
- Piling on extra figure eights. More wraps do not make it stronger. They take up the whole cleat, leaving no room for a second line, and make the knot slower to undo.
- Skipping the locking hitch. Without it, wave motion can work the wraps loose.
- Making the locking loop the wrong way, so the tail ends up on top and pulls away from the cleat instead of lying flat.
- Leaving a long, loose tail on the dock. Coil it neatly so no one trips on it.
Match the line to the cleat
A cleat hitch only works when the line fits the cleat. If the line is too thick, you cannot get a full turn and a figure eight on, and the hitch rides up off the horns. If it is too thin for a big cleat, it can slip. A common rule of thumb is about 1 inch of cleat length for every 1/16 inch of line diameter, so a 3/8 inch line suits a cleat of about 6 inches.
Also check the cleat itself. It should be through-bolted with a backing plate, not just screwed down, and free of cracks. The best knot in the world will not help if the cleat pulls out of the dock.
Practice until it is automatic
The time you most need a cleat hitch is the time you least want to think about it: wind blowing, boat moving, someone waiting on the dock. Practice at home on a cleat screwed to a board, or on your boat at the slip, until you can tie it without looking. Then practice untying it with the line pulled tight. Teach it to everyone who handles lines on your boat, too.
How to untie a cleat hitch under load
Lift the locking loop off the horn, then unwind the figure eight. Keep the last turn around the base until you are ready: it lets you ease the line out under control even when the boat is pulling on it. Keep fingers out from between the line and the cleat.
Boat cleat or dock cleat?
A common habit at a transient dock is to drop a line’s spliced eye over the dock cleat, and tie the cleat hitch on the boat. That way all the adjusting happens from aboard, and you can cast off without stepping onto the dock. At a home slip, many boaters do the reverse and leave lines sized to the slip on the dock. Either works; the knot is the same.
Getting the line to the cleat in the first place
The knot is the easy part. The hard part is often reaching the dock cleat from the boat without leaning out over the rail. The Boat Loop® drops a fixed loop over the dock cleat so you can draw the boat in first, and its small Line-Handling Hook helps you pass a dock line to the dock. Then tie your cleat hitch with the boat alongside and stopped.
Hanging fenders from a cleat? The same hitch works, and Fender and Boat Lines come pre-cut with a ready-made eye. Tying to posts instead of cleats? Read how to tie up to a piling.
Safety notes
WARNING: Read before use. Improper use of The Boat Loop® can cause injury or death.
- The Boat Loop® is a docking aid only; never use it as a permanent mooring line.
- Never place the loop over or around anyone’s neck. Strangulation could occur.
- Do not exceed 100 lb of pulling force or 75 lb of pushing force. Exceeding these limits can damage the product or cause injury.
- Reduce force when the pole is extended; the fiberglass pole is more susceptible to buckling under heavy pushing at full extension.
- It floats only when the Extension Pole is extended at least 12 inches, so do not rely on it as a flotation device.