Why pilings are different from cleats
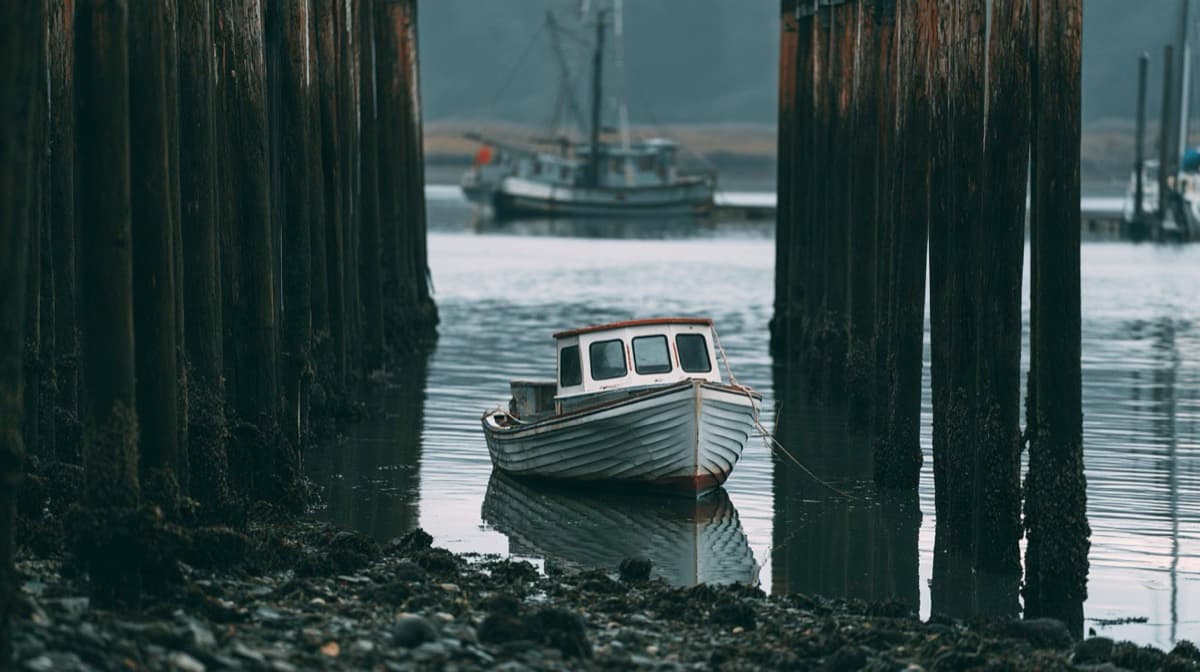
A cleat is built to hold a line at one point. A piling is a smooth, tall post, so a line can ride up or slide down it. And most pilings belong to fixed docks, which do not rise and fall with the water the way a floating dock does. Your boat moves up and down; the piling does not.
That gives you two jobs: make the line fast so it stays at the height you want, and leave enough length that the boat can rise and fall without the lines going bar-tight or hanging slack.
Three ways to make a line fast to a piling
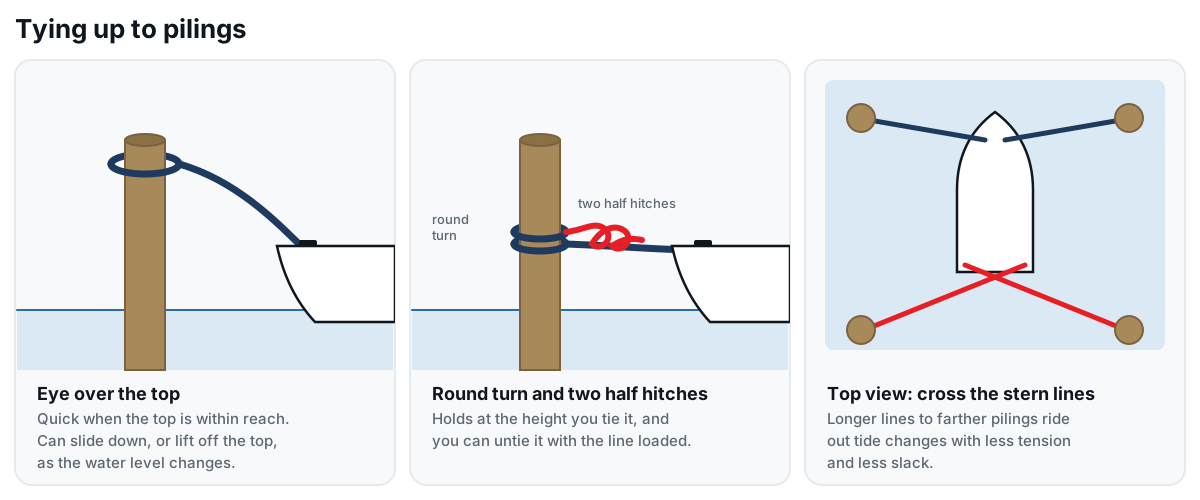
- Eye over the top. A dock line with a spliced eye dropped over the piling. It is the quickest option when the top is within reach and close to deck level. The catch: as the boat drops, the eye can slide down the piling, and if the water rises past the top it can lift off. Best for a short stop, not overnight.
- Round turn and two half hitches. Wrap the line twice around the piling, then tie two half hitches around the standing part. It holds at the height you tie it, does not jam, and you can untie it even when the line is under load. This is the all-round piling knot.
- Clove hitch. Quick to tie and adjust, but it can slip or roll on a smooth piling when the load shifts. If you use one, back it up with a half hitch or two, and only for a short stay.
Many piling-lined docks also have a cleat on the dock between the pilings. When one is in reach, use it: a cleat hitch is faster to tie, easier to adjust, and stays put.
How to tie up to pilings, step by step
- 1
Look at the water level first
Before you pick a height, find out whether the water is rising or falling, and by how much. On tidal water, check a tide chart. On rivers and lakes, think about wakes and changing levels.
- 2
Come alongside slowly
Approach at idle with fenders out. Pilings are unforgiving, so set fenders where the hull will touch the posts, not just the dock face.
- 3
Get one line on from aboard
Make the first line fast to the piling nearest your bow or midship, without stepping across the gap. A loop or eye dropped over the top is the quickest way to stop the boat drifting while you set the rest.
- 4
Set bow and stern lines
Tie the bow and stern lines to pilings ahead of and behind the boat with a round turn and two half hitches. Tie the line around the piling at a height that keeps it roughly level with your cleat at mid tide.
- 5
Add spring lines if you are staying
Springs run from a midship cleat forward and aft to the pilings. They stop the boat surging back and forth and keep it from rubbing on the posts.
- 6
Adjust for tide and protect from chafe
Leave enough length for the full rise and fall, then add chafe guards wherever a line rubs a piling, chock, or dock edge.
- 7
Check it again later
At a transient dock, check your lines several times through the tide cycle. A setup that looks right at high water can be bar-tight or hanging slack six hours later.
Allowing for tide and water level
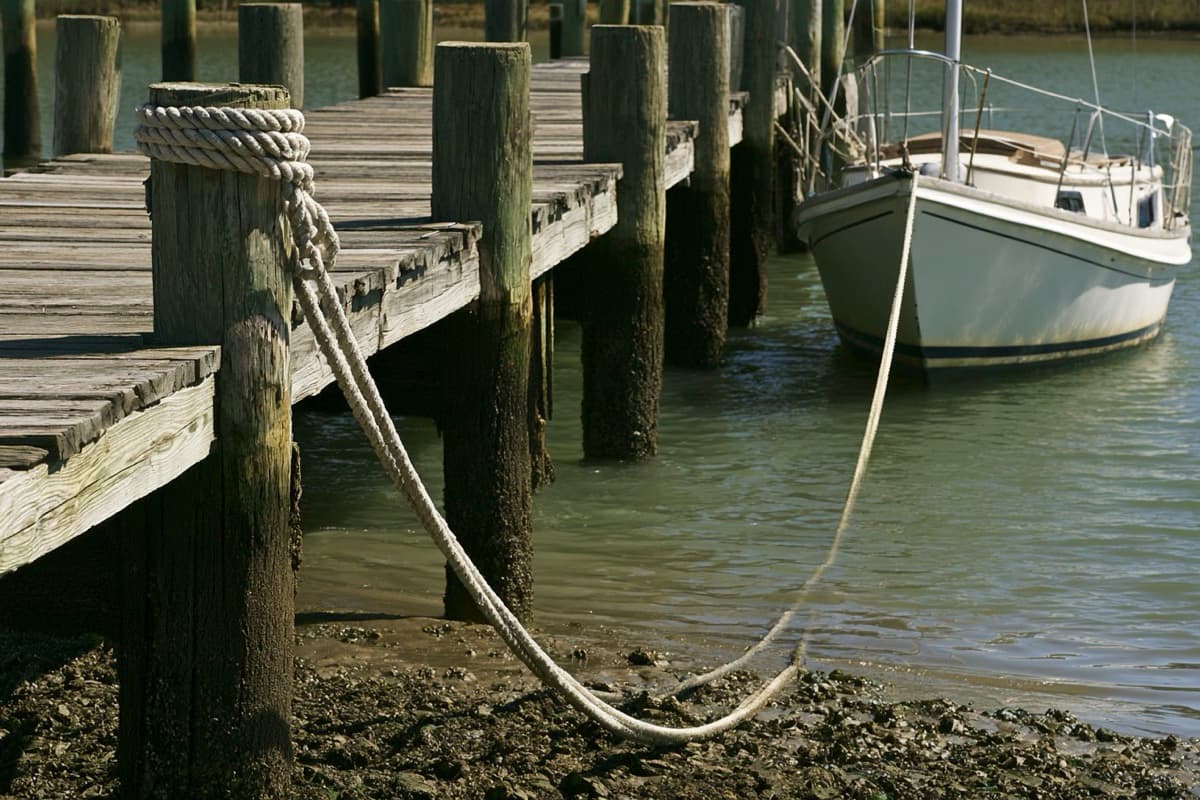
Line length is how you handle a changing water level. A short line to the nearest piling goes tight or slack quickly as the boat moves. A longer line to a piling farther away changes angle far less for the same rise and fall. That is why many boaters cross the stern lines in a slip, running each one to the far piling.
A useful starting point at a transient dock: bow and stern lines about half the boat’s length, and spring lines about as long as the boat. At your home slip, cut lines to suit your local tide range and leave them there. And use good lines: old, sun-faded rope loses strength, and chafe is what parts most lines in a blow.
A loop over the piling, or a cleat?
A loop or eye over the top of a piling is fast and needs no knot, so it is ideal for the first line on, or a quick stop for fuel or lunch. It is not the best choice for the night. On a falling tide it can slide down the post, and on a high tide it can float up and off the top.
A cleat holds a line at a fixed point and is easy to adjust with a cleat hitch. When the dock offers one in the right place, it is usually the better place for a line you will leave. Use the piling knots above when it does not.
Reaching a tall piling from the boat
The awkward part of piling docks is reach: the top of the post can be well above your deck at low water, or a long stretch away from where you stand. The Boat Loop® has a fixed loop that fits bollards and pilings up to 12″ across, so you can drop it over the piling from aboard and draw the boat in with your feet planted. Then tie off with your own dock lines and lift the loop clear. It is a docking aid, never a mooring line, so do not leave the boat tied to it.
For tall pilings and high bows, the Long model reaches the farthest; see which Boat Loop® size you need. Docking in a breeze? Read how to dock a boat in wind and current.
Safety notes
WARNING: Read before use. Improper use of The Boat Loop® can cause injury or death.
- The Boat Loop® is a docking aid only; never use it as a permanent mooring line.
- Never place the loop over or around anyone’s neck. Strangulation could occur.
- Do not exceed 100 lb of pulling force or 75 lb of pushing force. Exceeding these limits can damage the product or cause injury.
- Reduce force when the pole is extended; the fiberglass pole is more susceptible to buckling under heavy pushing at full extension.
- It floats only when the Extension Pole is extended at least 12 inches, so do not rely on it as a flotation device.